Notion Second Brain Template Setup Guide: Your First Hour
A step-by-step walkthrough for setting up a connected Notion second brain with Second Brain OS, starting small with Inbox, Projects, Tasks and My Day.
 Jithin Rajiv3 min read
On this page
A connected Notion second brain has several moving parts, and that can feel like a lot on day one. The trick is not to use everything at once. This guide walks through a sensible first hour with Second Brain OS, but the order works for any similar template.
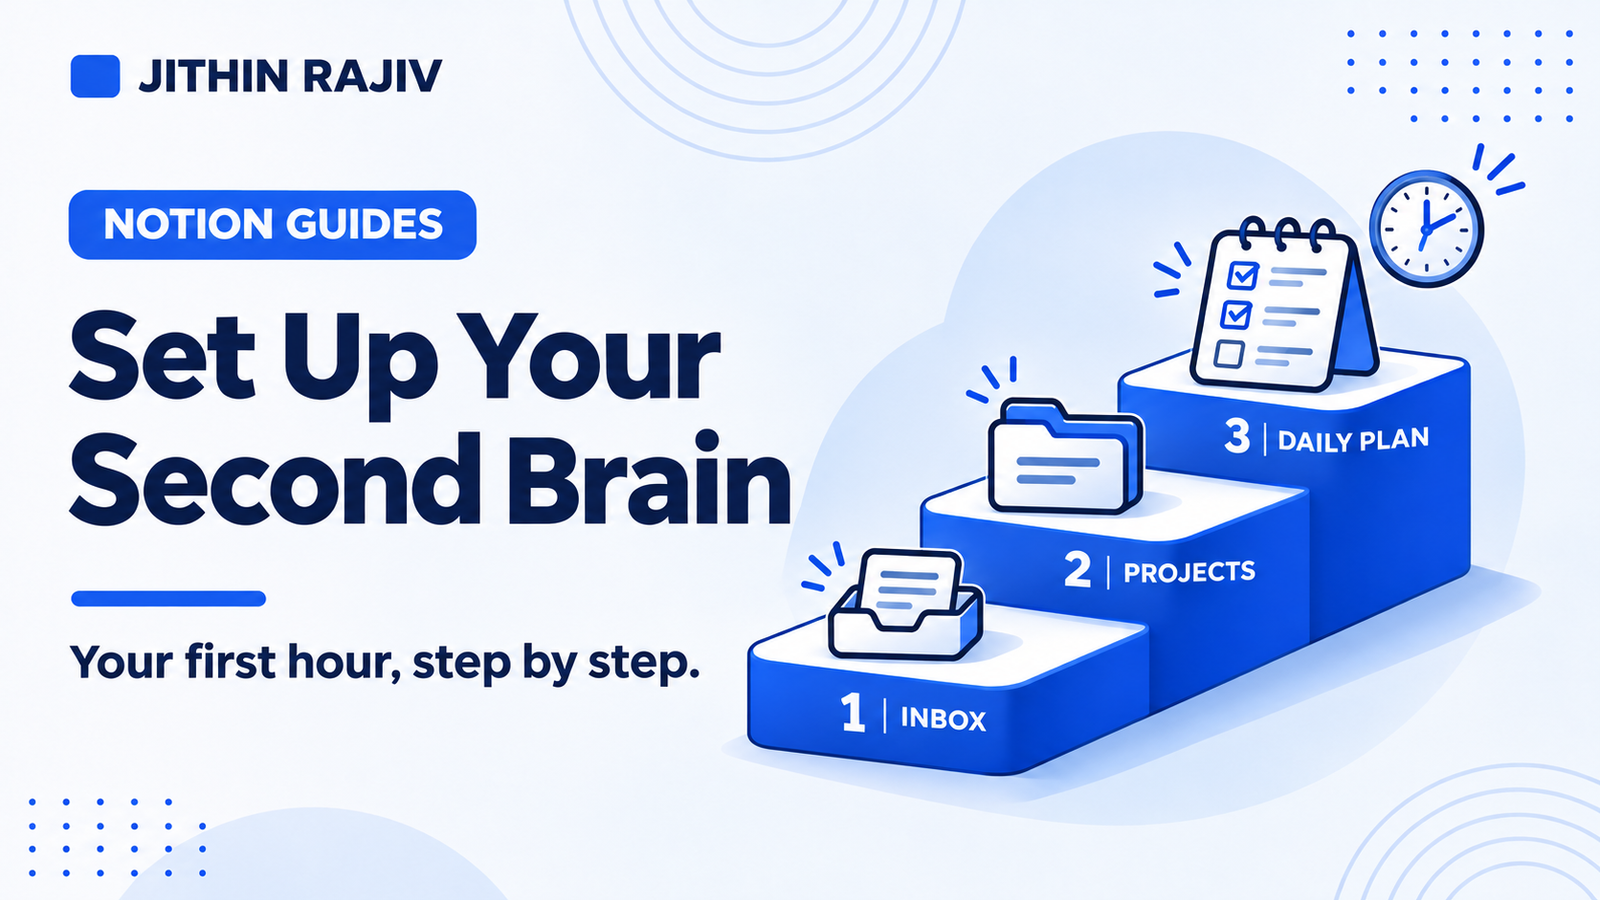
The plan: start small
You do not need every dashboard on day one. Start with four things:
- Inbox to capture
- Projects to hold outcomes
- Tasks to hold actions
- My Day to choose what you will do today
Add the rest, such as notes, the resource library, PARA, GTD and weekly reviews, as you need them.
Step 1: Duplicate the template
Open the template in Notion and duplicate it into your own workspace. You will then work on your own copy, not the original.
Step 2: Read Get Started
Open the Get Started page and follow the first-ten-minutes walkthrough. It shows how the main pieces connect, using example records.
Step 3: Review and remove the samples
The template includes example records so you can see how things link. Use the Setup & Sample Cleanup guide to review them and delete the ones you do not need. Do this before adding lots of your own data, so your workspace stays clean.
Step 4: Capture something real
On the Home dashboard, use Quick Capture and choose New Task, New Note, New Project or New Resource. A title is enough. The Capture & clarify section shows your unprocessed captures, oldest first.
Step 5: Process one capture
Processing is manual. For one capture:
- Decide what it becomes: a task, a project, a note or a resource.
- Create it, or reuse an existing record.
- Link it to the capture.
- Tick Processed.
Relations connect records but do not create or move them for you.
Step 6: Build your first project
Pick one real outcome with a finish line, such as "Publish three case studies." Create it as a project, then add one task as its next action, such as "Outline the first case study." Link a research note and a few sources to the project if you have them.
Step 7: Choose today's tasks in My Day
Open My Day and choose a short list of tasks for today. The guidance is up to three, but the limit is not enforced. Unfinished selections do not reset overnight, so decide each day what to keep and what to clear.
The task views, such as Today, Upcoming, Next + Doing, Waiting On and Logbook, all read from the same task database, so you are never managing separate task systems.
Step 8: Know the dates
Each date has one meaning:
- Do Date: when you plan to work on it
- Due: an actual deadline
- Snooze until: when the task becomes available
- Follow up: when to check on something you delegated
- Completed: when it was actually finished
Step 9: Run a short weekly review
At the end of the week, open Weekly Reviews. Check your commitments, projects, areas and knowledge, note wins and lessons, and set next week's focus. This keeps the system current.
What to add later
Once the basics feel natural, add the pieces that suit you:
- The PARA dashboard to see work by usefulness
- The GTD dashboard for next actions and waiting items
- Notes, topics and highlights in the Knowledge Hub
- The resource library for reading and sources
- An AI assistant if you want one. See AI second brain: what it is and how to build one
Things worth knowing
- Recurring tasks are not generated automatically. Repeat is a frequency label.
- Calendars and agendas are views of your Notion databases, not external calendar sync.
- Archiving does not automatically archive related records.
- There is no built-in AI assistant.
Questions about the template can go to templates@jithinrajiv.com.
30% off Notion Planner Templates$20.30
Related guides
Written by
Jithin Rajiv
Practical templates, free widgets, and useful guides for a workspace that works for you.